
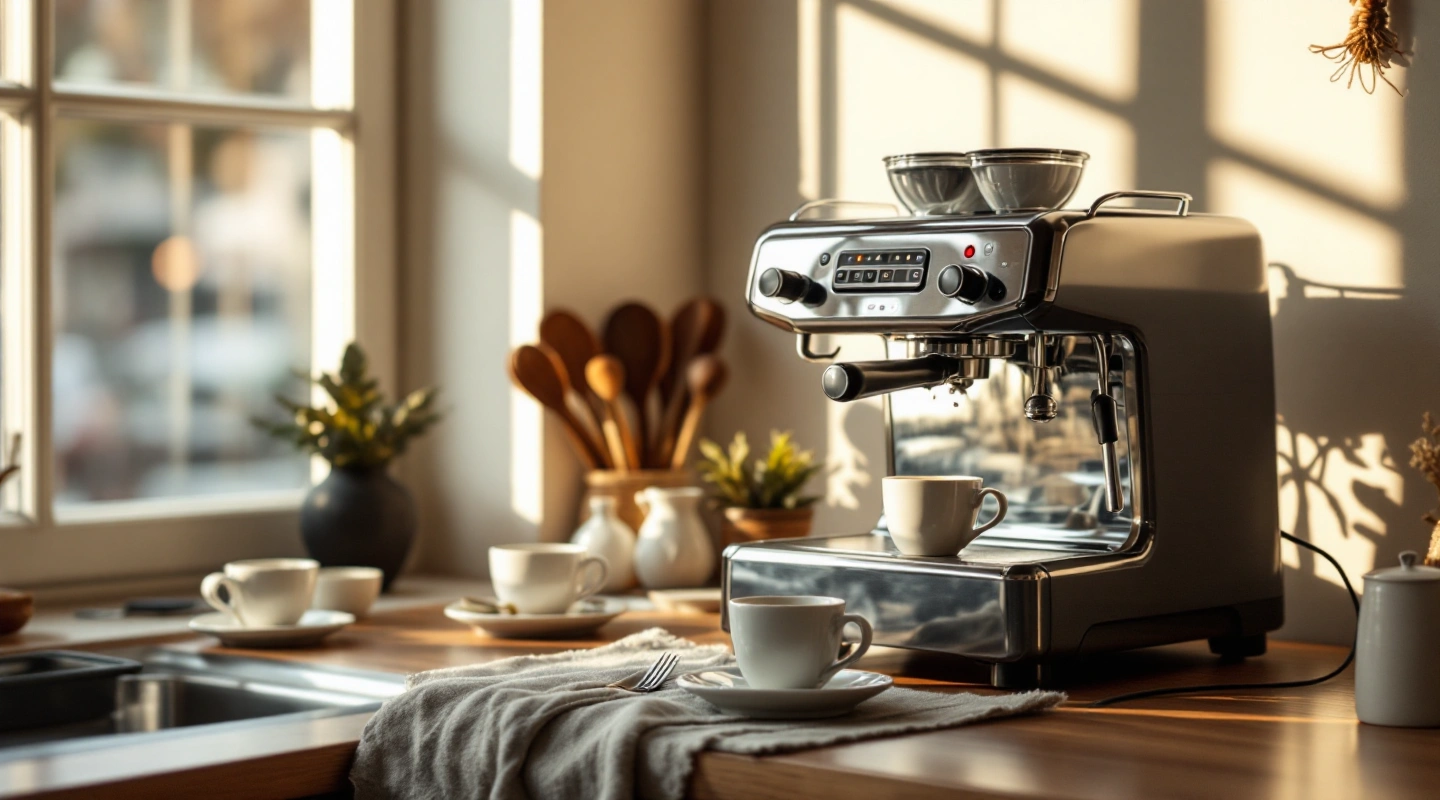
Learning how to use an espresso machine starts with the basket and the controls on your model. Fill with suitable water, warm the parts as the manual directs, dose the correct basket and brew a small shot. Adjust one thing at a time when you try to fix the taste.
Use the exact machine manual from first setup through cleanup. Match the basket to the coffee: a single-wall basket needs a suitable fresh grind, while a pressurized basket can suit pre-ground coffee. Keep dose and output repeatable. Brew before steaming unless your model says otherwise. Wipe and purge the wand after milk use. Never loosen a handle while brewing.
Plan your routine with the espresso ratio calculator, estimate your home coffee costs and setup payback, or use the espresso statistics and state running-cost table.
How to use an espresso machine for the first time
Read the first-use section before you fill the tank. A new machine may need a rinse or priming cycle that differs from normal brewing. Remove transport pieces and wash only the parts the manual allows. Do not run the pump with an empty tank.
Set the machine on a stable surface. Leave room for the water tank, power cord and steam wand. Keep the cord clear of hot parts. Check that the drip tray is in place before you run a rinse.
Use the water type the maker specifies. A tank filter does not make every tap-water supply suitable. If your water is hard, follow the maker's hardness and descaling guidance. Do not fill the reservoir with milk or add descaler outside the stated cycle.
The Breville BES450 US manual, First Use and Functions, provides one worked machine example. Its steps apply to that model. The Gaggia Classic Pro US manual uses a different control sequence. Use the instructions for the exact model on your counter. A familiar handle or button layout does not make the full brewing and cleaning sequence interchangeable.
How to use an espresso machine with the right basket
Find out which basket is in the handle. A single-wall basket has open outlet holes below the coffee. A dual-wall or pressurized design adds a restricted outlet. The distinction affects the grind you need and how you read the flow.
Breville's BES450 manual assigns freshly ground beans to its single-wall baskets and pre-ground coffee to its dual-wall baskets. Use that as a model-specific example, not a rule that every brand uses the same names. Check your own basket and manual.
Choose the basket before choosing a dose. A single basket and a double basket have different capacities. The basket's capacity stays the same whichever button you press. Filling a small basket with a large dose can leave too little space above the puck.
If a basket is new to you, write down its maker's dose range. Do not use portafilter diameter as a dose guide. Our Bambino fit page separates the main measurements. It also explains why the tamper needs its own fit check.
Warm the parts that touch the coffee
A ready light tells you what the maker has designed it to tell you. It does not prove that a cold cup and metal handle are warm. Follow the stated warm-up and rinse procedure for your model.
Place a cup under the outlet before a rinse. Keep your hands away from the water path. Dry the basket before adding grounds so that the next dose starts under the same conditions.
Do not invent a long warm-up routine from a different machine. A small flow heater and a boiler do not store heat in the same way. Extra flushes can waste water and alter the next shot's starting point. The useful goal is repeatable conditions within the maker's instructions.
Weigh the dose and level the bed
Use a scale if you want a repeatable recipe. Zero it with the dry basket or handle in place, then add the grounds. A scoop can help move coffee, but it does not prove the mass is the same each time.
Spread the grounds across the basket before tamping. A mound on one side leaves an uneven coffee bed. Tamp level with a tool that fits freely. Do not press harder to solve every flow problem; the grind and dose affect resistance too.
Brush loose grounds from the rim. Check that the basket sits flat in the handle. Lock the handle to the position described in the manual, using normal force. Stop if it feels wrong or will not lock in place.
Keep a short recipe note rather than chasing a perfect number. Write the basket, dry dose, drink mass and taste. Include the grinder setting. Those details make a single adjustment useful because you can compare the next shot with the last one.
Brew and stop with a clear target
Put the cup on the tray before starting the pump. If a scale fits safely below the spouts, zero it with the cup. Make sure it does not block the tray or touch a hot surface. Use the correct brew control for your model.
Some machines stop a programmed volume. Others need you to stop the pump. A programmed water volume does not establish the same drink mass with every grind or dose. Watch the cup during the first attempts.
A brew ratio compares drink mass with dry coffee mass. For a purely worked example, 18 g of grounds and 36 g in the cup gives a 1:2 ratio. The calculation is 36 divided by 18, which is 2. Those numbers explain the calculation, not a recipe for every machine or coffee.
Use a recipe from your coffee supplier or machine guidance as the starting point. Then taste and adjust. A ratio records what you made. It does not grade the drink by itself, and a darker or lighter roast may suit a different result.
Wait for the machine's safe removal stage before loosening the handle. The brew path can contain hot water and pressure. Do not loosen the handle to relieve a blocked shot while the pump is running.
Adjust one variable when the shot is wrong
Use the same basket and dose while adjusting the grind. Keep the output target fixed too. That makes the next result easier to interpret. If you alter all of them at once, you cannot tell which adjustment helped.
Very fast flow can point to too little resistance. Very slow flow can point to too much. The manual may also list blocked holes, a dirty outlet or an incorrect dose as causes. Check those before blaming the pump.
Taste can guide the next trial, but it cannot prove a single fault. A sharp cup is not always just a coarse grind. Water, roast, temperature and uneven flow can all matter. Make a small controlled adjustment and keep a record.
If no water flows, stop the pump and follow the troubleshooting section. Confirm the tank is seated and filled. Let hot parts cool before you inspect a basket. Do not keep running the pump in the hope that pressure will clear an unknown blockage.
Steam milk using the model's sequence
Read the steam section before turning the wand on. Some machines need time to switch modes. Others purge water into the tray as part of normal operation. Keep a clear path for that water and for hot steam.
Start with a clean jug and fresh cold milk. Use the manual's fill range and allow space for expansion. Keep the tip in the milk as the maker directs. Stop the steam before removing the jug from the wand.
Small bubbles and a rolling motion help mix air into the milk. Large dry bubbles do not pour like smooth microfoam. Treat that as a texture goal, not a reason to keep heating milk without a temperature limit.
The BES450 manual sets out its own wand position and milk-texturing process. Do not copy the same tip position or timing to every wand. The latte art workflow explains how milk texture and pour height work together without promising a result from any one machine.
Clean the wand as soon as milk use ends
Wipe the wand with the cloth and method your manual specifies. Avoid bare skin on the hot metal. Purge toward the tray when the maker directs it. Keep steam away from people and other appliances.
An automatic purge is not the same as a clean exterior. Milk can dry on the outside of the tip. A removable tip may have its own cleaning tool and procedure. Use those instructions rather than forcing a sharp object through an unknown opening.
If you switch to another milk, use clean contact parts. A quick wipe does not establish that all traces of the previous milk are gone. Follow the relevant cleaning process for anyone who needs to avoid an ingredient.
Finish the session before residue dries
Discard the used puck when safe. Rinse the basket and handle as the manual allows. Clear the tray before it overflows. Leave parts to dry in the way the maker describes.
Backflushing, descaling and washing parts are separate jobs. A machine that lacks the required valve or cleaning mode may not permit backflushing. Do not put a blind basket in a machine just because another brand's video shows one.
Descaling addresses mineral deposits. A coffee-oil cleaner serves a different purpose. Use the stated product and cycle for each task. More cleaner or a longer soak does not establish a better result, and some finishes need special care.
Keep a simple maintenance note with the date and task. If the machine has a cleaning alert, follow the exact alert instructions. Do not rely on a single fixed monthly schedule when water use and hardness differ.
A worksheet for the next cup
Record one row per attempt. Keep the entries short enough that you will use them. “Thin, fast flow” is more useful for the next grind adjustment than a vague score.
| Field | What to record |
| --- | --- |
| Machine and basket | Exact model; basket capacity and type |
| Coffee | Bag name and roast date if shown |
| Dry dose | Measured grams |
| Output | Measured drink mass, or clearly state not measured |
| Time | Use the same start point each attempt |
| Next adjustment | One adjustment and its reason |
If an input is unknown, write “not measured.” Do not enter zero. An unmeasured dose is different from an empty basket, just as an unknown output is different from no flow.
After a few attempts, look for a repeatable drink you enjoy. A new basket or handle is not the first fix for every problem. Check the grind range and dose first. Make sure the brew path is clean before buying more equipment. Our homepage budget guide separates necessary setup costs from optional extras.
Keep the next session easy to repeat
Leave the machine ready for its next safe use as the manual directs. Keep the dry basket and tamper together. Note the grinder setting before another person adjusts it. If you swap beans, record the new bag rather than assuming the last setting will transfer.
Check the tank level before the next brew, even if the previous session was short. Rinses and steam use can consume water as well as the drink. A full drip tray does not mean the tank has enough left. These quick checks help you begin from a known state without adding new equipment.
Frequently asked questions
Do I need a grinder to begin?
It depends on the basket and coffee. A suitable pressurized basket may let you use pre-ground coffee. A single-wall basket makes grind control much more important. Follow the basket maker's guidance.
Can I use the same instructions for every machine?
No. Priming, steam modes and pressure release differ. Use this workflow to understand the tasks, then follow your exact model's controls and safety instructions.
Should I brew or steam first?
Follow the manual. A machine with one heating path may need a different temperature for each job. Do not assume it can brew and steam at once.
Why is my second cup different?
Check whether dose, grind, cup warmth or the starting machine state differed. Use the same process before making a new recipe adjustment.
Verdict
Knowing how to use an espresso machine means keeping a few tasks repeatable. Match the basket to the coffee, follow the model's heat and steam sequence, and record the dose and output. Adjust one variable at a time. Clean the parts that touch coffee and milk before residue dries.